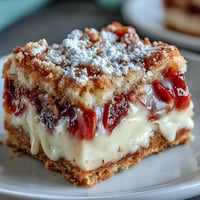
 Pin It
 There’s something mischievously fun about sneaking a taste of warm, cinnamon-sugar topping straight from the pan as these sopapilla cheesecake bars cool on my counter. The buttery aroma instantly transforms my kitchen into a sweet haven, and I always listen for the excited footsteps of my niece racing in, nose leading the way. Not every dessert earns a prime spot at our family gatherings, but this one keeps elbowing out the fancier cakes and pies. It’s bold, celebratory, and the kind of treat that vanishes in the blink of an eye. Perfect for when you want to serve up simple joy with a little flair and barely any fuss.
A couple of years ago, during a raucous Cinco de Mayo potluck, I found myself frantically slicing these bars as a catchy cumbia played in the background. No one waited for plates—people just grabbed pieces straight from the tray, dusted in cinnamon-sugar. There was something gleeful and communal about the sticky fingers and laughter that followed, and now, whenever I bake these, I remember that kitchen full of friends and music.
Ingredients
- Refrigerated crescent roll dough: The secret shortcut for flaky layers—give your dough a gentle pinch at the seams to keep the filling from escaping.
- Cream cheese (softened): Full-fat is my go-to for ultra-lush texture; letting it warm up on the counter ensures a silky smooth filling.
- Granulated sugar: Essential for that indulgent, cheesecake sweetness—save a little for mixing with cinnamon for the crusty topping.
- Vanilla extract: A dash of good vanilla makes all the flavors sing; don't be shy about using the real stuff.
- Unsalted butter (melted): This locks in moisture and helps deliver a golden, crisp top, especially when poured evenly.
- Ground cinnamon: The aromatic star for that classic sopapilla vibe—swirl it into the sugar before sprinkling so every bite pops.
Tired of Takeout? 🥡
Get 10 meals you can make faster than delivery arrives. Seriously.
One email. No spam. Unsubscribe anytime.
Instructions
- Get the oven ready:
- Set your oven to 350°F (175°C) and lightly grease a 9x13-inch pan. I always use a little extra butter for insurance.
- First dough layer magic:
- Carefully unroll one can of crescent dough and press it into the pan, patching any seams so the filling doesn't leak through.
- Whip up the filling:
- Using a hand mixer, beat cream cheese with 1 cup sugar and vanilla until lusciously smooth and billowy.
- Spread the joy:
- Dollop and then evenly spread the cream cheese mixture over the dough, reaching every corner for even layers.
- Top with second dough:
- Lay the second crescent can over the filling, pressing edges and seams to form a soft, protective shell.
- Butter up and sprinkle:
- Slowly pour melted butter to coat the top, then mix the remaining sugar with cinnamon and sprinkle generously for maximum crunch.
- Bake to golden perfection:
- Slide the pan into the oven for 28–32 minutes until the top bubbles and turns caramel-gold.
- Cool & enjoy:
- Let bars cool for at least 30 minutes—they firm up nicely and slice better, even if you're tempted to sneak a bite warm.
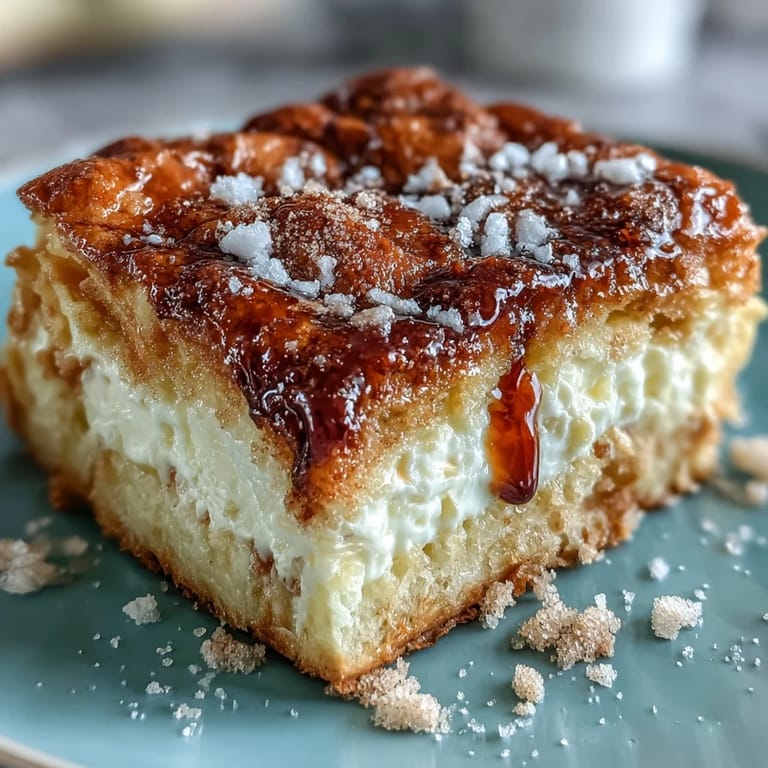
 Pin It
  Pin It
 When my quiet-hearted uncle unexpectedly declared these "the best thing at the party," I realized how food can bridge even the room's quiet corners. A simple square passed across the table became a little invitation to join the story.
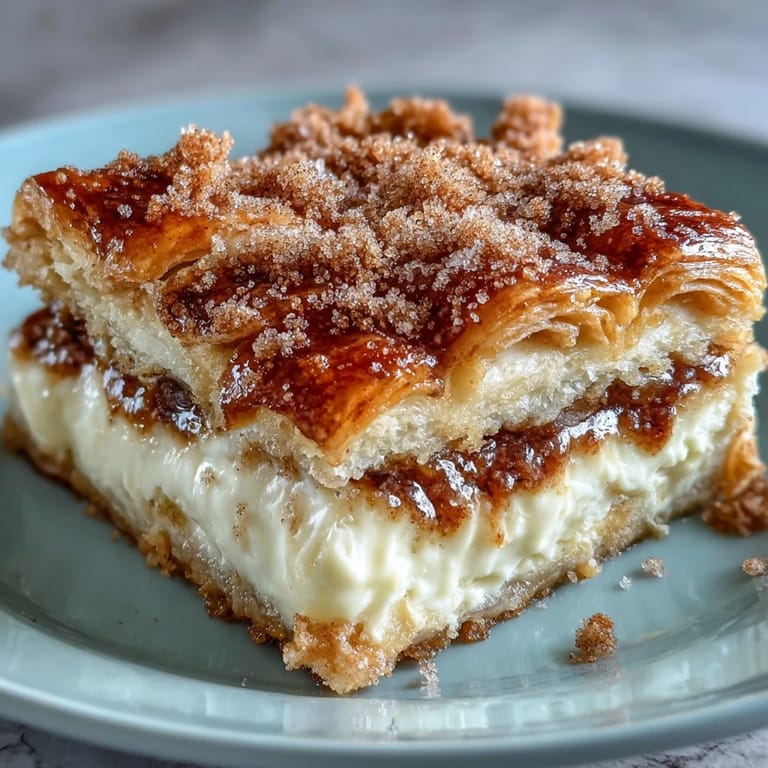
Letting Your Bars Shine at Gatherings
Sopapilla cheesecake bars really are crowd magnets—cutting them into generous squares and piling them onto a platter guarantees they’ll disappear before you blink. If I know there’s a big group coming, I double the recipe, and someone always asks for it later.
Small Changes, Big Flavor Payoff
If you’re in an adventurous mood, I love folding a bit of lemon zest into the filling or serving the bars with fresh berries. That little citrus spark brightens the richness, and the fruit makes each piece feel a touch more celebratory.
Serving and Storing Like a Pro
These bars are as wonderful straight from the fridge the next day as they are fresh and warm—just cover them tightly so they stay soft and luscious. They also freeze surprisingly well for up to a month.
- Cut with a plastic knife for cleaner edges.
- Always sprinkle the topping evenly while the butter’s hot.
- Don’t be afraid to serve with a drizzle of honey for extra wow.
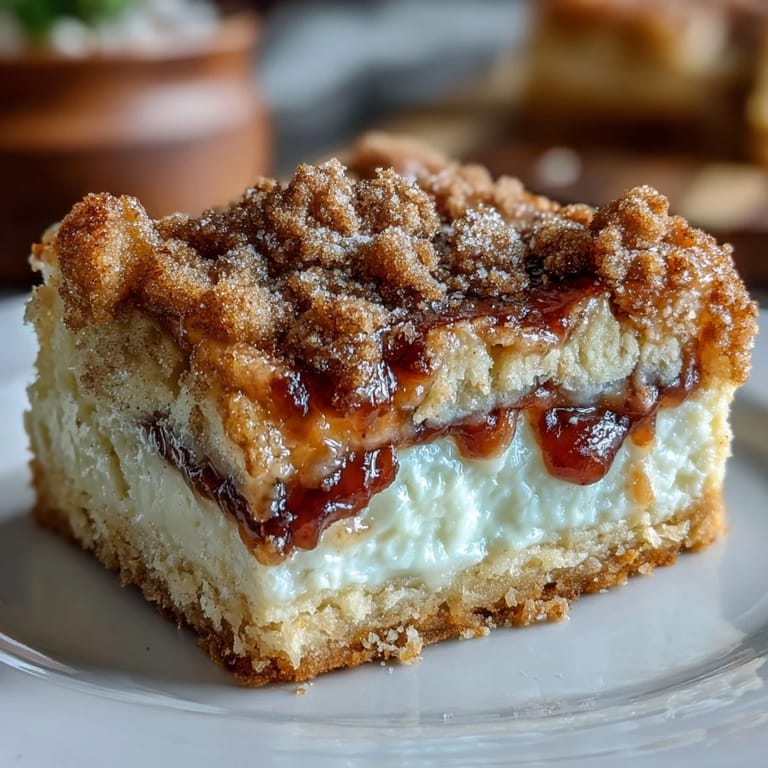 Pin It
  Pin It
 I still get a spark of delight each time I share these, knowing they never fail to charm anyone who tries them. Wishing you laughter, a little mess, and empty pans by the end of the night.
Recipe FAQ
- → Can I use homemade dough instead of canned crescent dough?
Yes. Puff pastry or a simple buttery pastry dough can replace canned crescent dough. Roll the dough to roughly the same thickness and trim to fit a 9x13 pan for even layers and bake time.
- → How do I avoid a soggy center?
Press the bottom layer evenly and seal seams when adding the top layer to minimize leaks. Beat the cream cheese until smooth but not watery, spread evenly, and bake until the center is set and edges are golden.
- → Can I make variations to the filling or topping?
Absolutely. Fold in a teaspoon of lemon zest or a touch of sour cream into the filling for brightness. Swap the cinnamon-sugar for a streusel or add chopped nuts for texture.
- → What are the best serving and storage tips?
Serve warm for a tender texture or chilled for cleaner slices. Refrigerate in an airtight container for up to four days; warm gently in the oven before serving if desired.
- → Is freezing an option?
Yes. Freeze cooled bars in a single layer on a tray, then stack with parchment between layers in a freezer-safe container for up to one month. Thaw overnight in the fridge before serving.
- → How can I accommodate common allergens?
Check dough packaging for soy or other allergens. Use gluten-free pastry for a wheat-free option and dairy-free cream cheese alternatives for lactose-free versions; texture may vary slightly.