Pin It
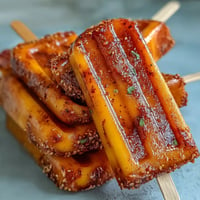
 The aroma of freshly baked cake always reminds me of the rush before a big school celebration, but nothing draws a crowd quite like cake pops decked out in graduation colors. Last spring, I found myself elbow-deep in frosting while pop music played in the background, determined to make something cheerful for my cousin's big day. The most fun came from swirling school-colored candy melts, just hoping I wouldn't mix up the mascot hues. Cake crumbs on my apron, laughter from the hallway, and a little edible glitter everywhere—it was pure joy with a hint of chaos. After all, there's something uniquely charming about sharing hand-decorated treats with those you love on milestone moments.
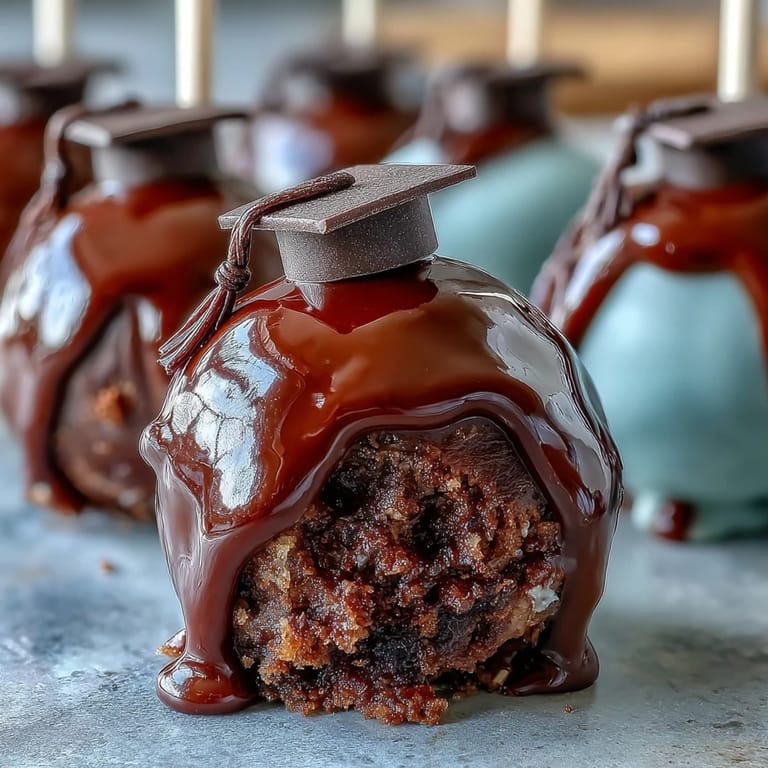
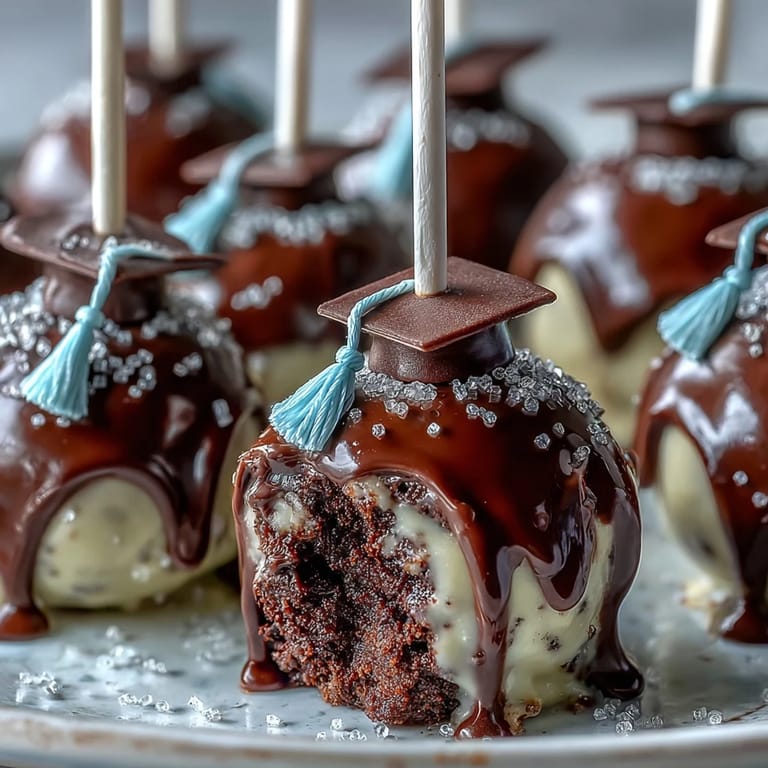
One memorable afternoon, I invited friends to help decorate cake pops for our graduation picnic. It turned into a sweet assembly line with sprinkles flying and friendly debates about whether to add edible glitter or stick with classic colored sugar. We ended up making some pops with fondant graduation caps that looked hilarious but tasted delicious. Everyone got their hands messy, and somehow we managed to sneak a few cake balls before dipping. It felt like the perfect way to celebrate finishing school—simple, silly, and together.
Ingredients
- Cake: Choose your favorite flavor—vanilla or chocolate—because delicious cake is the base, and I’ve found cake works best when cooled fully before crumbling.
- Frosting: Use cream cheese or buttercream (whichever you love), and add it slowly so you don’t over-moisten the cake mixture.
- Candy melts: Opt for coordinated colors to match school spirit, but always melt in short bursts to avoid burning.
- Vegetable shortening: This trick keeps the coating smooth and helps prevent clumping—I keep it handy for stubborn chocolate.
- Sprinkles, edible glitter, or colored sugar: They’re what make each pop festive and unique; don’t be shy with them.
- Lollipop sticks: Inserting these with a dab of chocolate helps your pops stay secure.
- Mini chocolate chips: Perfect for adding small touches like edible tassels; just stick them on with a little melted coating.
- Fondant (optional): Easy to roll and cut for cap decorations, but soft fondant works best for shaping.
Tired of Takeout? 🥡
Get 10 meals you can make faster than delivery arrives. Seriously.
One email. No spam. Unsubscribe anytime.
Instructions
- Bake and cool:
- Prepare the cake according to package directions or your favorite recipe, then let it cool until you can touch it comfortably.
- Crumble and mix:
- Break the cake into fine crumbs using your hands; combine with frosting gradually, mixing until it just holds together.
- Roll the pops:
- Use a tablespoon to scoop and roll balls—try to keep them uniform so they set neatly.
- Chill for firmness:
- Line them up on a baking sheet, cover, and let them chill for at least an hour or give them a quick freeze to make dipping easier.
- Melt the coating:
- Microwave candy melts in short bursts, stirring each time, until silky; a spoonful of shortening helps if it's too thick.
- Stick and dip:
- Dip lollipop stick tips in melted chocolate, then press halfway into each cake ball before dipping the whole pop—tap gently to remove excess.
- Decorate creatively:
- While still wet, let your imagination loose with sprinkles and colored sugar; attach fondant caps and mini chocolate chip tassels if you like.
- Set for perfection:
- Stand pops upright in a styrofoam block or cake pop stand, giving them plenty of time for the coating to harden before serving.
 Pin It
 The first time these cake pops made their debut, we ended up with a row of brightly colored pops lined up like medals. It was the moment everyone paused between speeches and certificates to reach for dessert with grins. Suddenly, the treats felt less like food and more like a sweet badge of accomplishment shared among friends.
School Spirit in Every Bite
Using candy melts in your alma mater colors always sparks conversation—and I discovered that matching sprinkles to class colors made each pop feel personalized. When you play with edible glitter or colored sugars, people notice the care and fun behind every bite. Graduates love seeing their hard-earned school pride reflected in dessert form.
No-Fail Decorating Tips
If the coating seems stubborn, just add a hint of shortening and keep stirring—it always smooths things out for a shine. I learned that using fondant squares for caps is simple with a small knife and a chilled workspace. Decorating becomes a breeze with all toppings set out in little bowls, making it easy to pick, dip, and sprinkle without chaos.
Making Cake Pops Ahead of Time
Chilling the cake pops overnight makes dipping faster and cleaner, and prepping decorations in advance gives more creative freedom. If you store them in a tall container, arrange pops so the coating doesn't touch and stick. It's the easiest way to keep them looking fresh for the big party.
- Let pops cool completely for the best texture.
- Use parchment paper to prevent sticking during storage.
- Keep decorations handy in smaller bowls to speed up the process.
 Pin It
 Celebrating graduation never tasted so festive or looked so bright. Share these cake pops with your grads—and see how a little color turns dessert into a party centerpiece!
Recipe FAQ
- → How do I customize pops for my school?
Choose candy melts and decorations in your school colors. Fondant or colored sugar can be added for unique graduation touches.
- → Can I use homemade cake instead of mix?
Yes, a fully cooled homemade cake works great as the base. Simply crumble before mixing with frosting.
- → What if the melted coating is too thick?
Vegetable shortening can be added to thin the chocolate or candy melts if needed, making dipping smoother.
- → How should I store the finished pops?
Keep pops in an airtight container at room temperature up to three days, or refrigerate for up to a week.
- → Is it possible to make these gluten-free?
Use gluten-free cake mix and check all ingredient labels to ensure compatibility for gluten-sensitive guests.
- → Can I add graduation year on the pops?
Edible markers are perfect for personalizing cake pops with graduation years or short messages.