Pin It
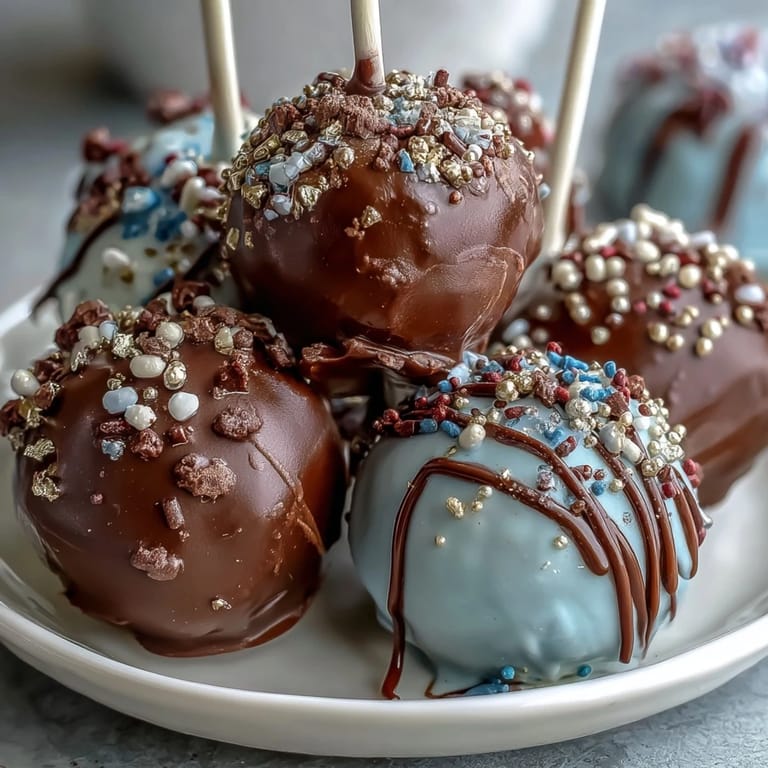
 My friend texted me a photo of her daughter's graduation cap at 11 PM on a Wednesday, and suddenly I was standing in my kitchen at midnight thinking about cake pops. She needed something special for the celebration brunch, something that screamed school spirit without looking like I'd spent all night stressed. That's when these little golden orbs felt inevitable—each one a tiny edible confetti that could be made ahead and actually look impressive.
The night before the graduation party, I realized my hands were covered in cake crumbs and frosting, and my kitchen smelled like vanilla and anticipation. My partner walked by, stole a finished pop from the cooling rack, and suddenly understood why I'd spent the evening rolling balls of cake instead of sleeping. When the mom told me later that her daughter carried a photo of these pops in her graduation announcements, I understood what had just happened in that late-night kitchen moment.
Ingredients
- Vanilla or chocolate cake mix: Using a box mix here isn't cutting corners—it's using your time wisely so you can focus on the decoration that actually makes these special and school-spirited.
- Unsalted butter: Softened means it actually creams properly; cold butter will fight you the entire way and leave you with gritty frosting.
- Powdered sugar: Sift it if you have lumps, or just press it through a fine mesh—lumpy frosting won't bind the cake properly and your balls will crumble.
- Milk and vanilla extract: These seem tiny, but they're what keep your frosting from being dense and what make it taste like something worth eating instead of just holding cake together.
- Candy melts in school colors: Buy them at craft stores where they're cheaper, and grab two colors so you can make a split design or let people choose their favorite.
- Vegetable shortening or coconut oil: This is optional but genuinely worth it—it makes the candy melt thinner so your coating is glossy instead of thick and cakey.
- Gold sprinkles or edible gold glitter: Don't skimp here; this is where the magic lives and where people notice you tried.
- Lollipop sticks: Have a few extras because inevitably one will break or bend when you're halfway through.
Tired of Takeout? 🥡
Get 10 meals you can make faster than delivery arrives. Seriously.
One email. No spam. Unsubscribe anytime.
Instructions
- Bake and cool your cake:
- Follow the box instructions exactly, then let it sit on the counter until it's completely cool—warm cake turns into cake pudding when you mix it with frosting. This patience step is non-negotiable.
- Make frosting that actually works:
- Beat the butter alone first until it's pale and fluffy, which takes about two minutes longer than you think it should. Once the powdered sugar goes in, add it slowly or you'll have a white cloud in your kitchen.
- Create your cake mixture:
- Crumble the entire cake by hand into a big bowl—it's meditative and you can feel exactly when the texture is right. Add frosting gradually until squeezing a handful holds together without falling apart or feeling slick.
- Roll with intention:
- Use a tablespoon measure or your hands to make balls roughly the same size so they cook and set evenly. Chill them hard for at least an hour; this prevents them from falling off the stick mid-dip.
- Secure those sticks:
- Melt just a bit of candy melt and dip each stick end before inserting it halfway into the cake ball—this is your insurance against a cake pop floating away in the coating. Wait a minute for the coating to set before proceeding.
- Dip with confidence:
- Melt your candy melts according to the package but add shortening if you have it—it makes the coating smooth and glossy instead of thick. Dip quickly, tap gently against the bowl to remove excess, and move to the foam block.
- Add gold while wet:
- Sprinkle the gold immediately after dipping while the coating is still tacky, or it won't stick. This is where the celebration actually happens visually.
- Let them set completely:
- Resist the urge to touch them; the coating needs time to harden into that satisfying snap. Once they're firm, they're stable and ready to move or package.
 Pin It
 There's something about presenting these to a room full of people celebrating something big that shifts the entire meaning of baking. These aren't just sugar and cake—they're tiny flags of pride in school colors, edible proof that someone took time to make a moment feel ceremonial.
The School Colors Strategy
Before you melt anything, think about how you want your colors to work. You could dip half the batch in one color and half in another, or you could be braver and try a two-color dip by holding the pop at an angle while two people dip simultaneously. The smartest move is to melt both colors and keep them separate, then decide in the moment which design you're feeling—commitment-free creativity.
Troubleshooting Common Moments
If your cake balls are too crumbly, you didn't add enough frosting; if they're too wet and falling apart, you added too much. The texture should feel like slightly sticky cookie dough that holds its shape when you squeeze it gently. If your candy coating cracks or looks dull instead of shiny, the temperature was probably too hot or you didn't add any shortening to thin it properly.
Making These Your Own
The beauty of this recipe is how flexible it actually is once you understand the core method. You can switch cake flavors, experiment with frosting colors by adding food coloring, or layer two different colors on each pop for a marbled effect. These little celebrations deserve to feel personalized to whoever you're making them for.
- Try adding a tiny pinch of almond extract to the frosting if you're using chocolate cake for something that tastes unexpectedly sophisticated.
- If you're ahead of schedule, make these three days early and stack them gently in an airtight container; they actually taste better when the coating has fully set.
- Gold leaf applied to wet coating looks even more stunning than sprinkles, though regular gold sprinkles are easier to work with and still completely magical.
 Pin It
 These cake pops are the kind of thing that seems fussy until you realize you're actually just combining cake, frosting, and melted chocolate in a deliberate way. Make them for a graduation, a class celebration, or just because someone you care about deserves something that looks like it took effort.
Recipe FAQ
- → How do I achieve smooth candy melt coating?
Adding vegetable shortening or coconut oil to melted candy melts helps create a smoother, glossier coating that's easier to dip and decorate.
- → Can I use different cake flavors for the pops?
Yes, choose vanilla, chocolate, or any preferred boxed cake mix to match your taste or theme preferences before forming balls.
- → What is the best way to secure sticks in the cake balls?
Dipping one end of each lollipop stick into melted candy melt before inserting halfway into the cake ball helps to firmly anchor it.
- → How long should the cake balls chill before dipping?
Chill cake balls for at least 1 hour in the refrigerator or 30 minutes in the freezer to firm them up for easier dipping.
- → How should I store the decorated pops?
Keep cake pops in an airtight container at room temperature for up to 3 days or refrigerate for up to 1 week to maintain freshness.